A label that lifts, peels, or slides off a container is a diagnosis waiting to happen. The cause is almost always one of four things: the surface, the adhesive, the environment, or the application. Food label adhesion problems on glass jars and plastic containers follow a short fault tree that points to the fix.
This guide walks the diagnosis in order: the failure signs, the surface causes, the adhesive causes, the environment causes, and the validation that proves the fix. Each section ends with the question that isolates the next layer, so the reader ends with a corrected spec instead of a theory.
Reasons Food Labels Lift, Peel, or Slide on Containers
Lifting, peeling, and sliding are three different failures with different causes, and the first step is telling them apart.
The failure mode is the diagnostic clue: where the label lets go, how it moves, and when it happens all point at a specific layer of the construction. Reading the clue correctly saves the cost of fixing the wrong layer.
Edge Lifting
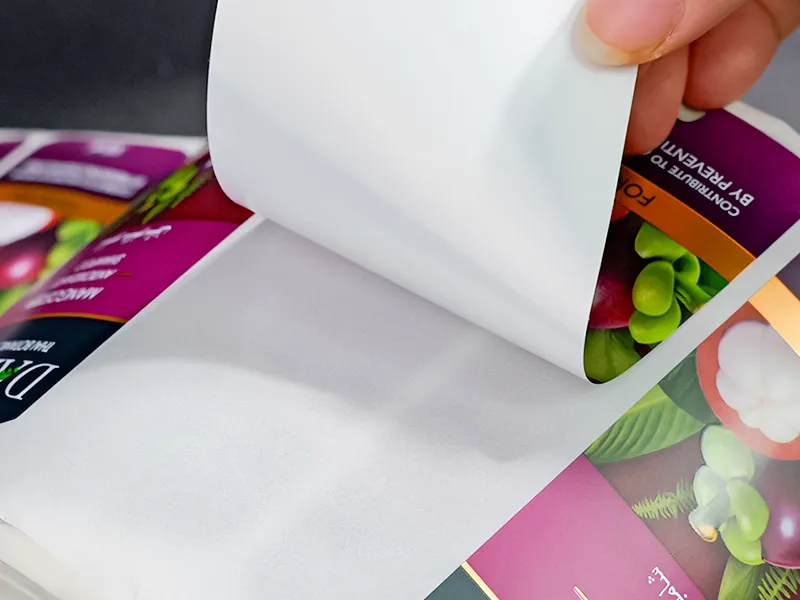
Edge lifting means the label’s border comes up while the center stays bonded, usually from surface contamination, a curved panel, or an adhesive that never matched the surface. The edges are the weak point of every label, and they fail first. See our article on why custom labels peel off for the mechanics behind this failure, and note the direction the edge lifts, because it often points at the cause.
Full Peeling
Full peeling means the label comes away whole, which points to a clean adhesive-surface mismatch or a bond that never formed at application. The label itself is often fine; the pairing was wrong. The fix is the adhesive, not the artwork, and the reorder should carry the corrected pairing, fully documented so the next run does not repeat it.
Sliding and Drifting
Sliding labels move on the container before the bond sets, usually from condensation, a wet surface, or insufficient pressure at application. The label looks applied but lands where it wants. Drifting is an application problem more than a material one, and it shows up as crooked labels before it shows up as lost labels.
Glass Surface Contamination and Preparation Issues
Glass bonds beautifully when clean, and fails fast when coated with oils, dust, or condensation at the labeling point.
Glass adhesion failures are almost always contamination failures, because the glass itself is the easiest surface a label will ever meet. The three causes below cover nearly every glass case, and each has its own cheap fix.
Oils and Filling Residue
Filling lines leave a fine film of product oil or release agent on glass, and the adhesive bonds to the film instead of the glass. The film then slides off, taking the label with it. The contamination is invisible, which makes it the hardest cause to catch without testing, and the first suspect when labels on one line fail and labels on another do not.
Condensation and Cold Glass
Cold glass pulls condensation from the air, and applying a label to a wet surface is the classic sliding-label cause. The moisture film sits between adhesive and glass. Cold-application adhesives and drier application points fix the same failure in different ways, and the choice depends on which one the line can realistically change.
Cleaning and Preparation
The fix on glass is preparation: cleaner surfaces, drier lines, and adhesives rated for the conditions that remain. Preparation closes most glass adhesion cases without changing the label at all, which is the cheapest fix in the diagnosis tree, and the one to try before anything more expensive.
Plastic Surface Energy and Adhesive Compatibility
Plastic adhesion failures usually mean the wrong energy match: a general adhesive on a low-energy polymer like HDPE or PP. For the category map behind that grade choice, see our article on label adhesive types.
Plastic failures run deeper than glass failures, because the resin itself is the cause, not a film on top of it. The three checks below separate the energy mismatch from everything else, and the energy mismatch is the first one to rule in or out.
The Energy Mismatch
Adhesives bond by wetting the surface, and low-energy plastics resist wetting. The result is a label that looks applied but lifts days later, once the container flexes. The diagnosis is confirmed by testing the same label on glass, where it holds without issue, which isolates the container as the cause.
Fixing the Mismatch
The fix is an adhesive formulated for polyolefins, or surface treatment of the container. The adhesive change is the practical route for most food lines. See our article on how to choose waterproof label adhesive for the grade-by-grade pairing logic, and re-test after the change rather than trusting the data sheet.
Flex and Conformability
Plastic containers flex, and a rigid label on a flexing bottle lifts at the edges even with the right adhesive. The fix pairs the right adhesive with a conformable facestock. The two changes travel together, because one without the other only moves the failure from the edge to somewhere else.
Diagnose Your Label Adhesion Problems

Condensation, Refrigeration, and Product Residue Challenges
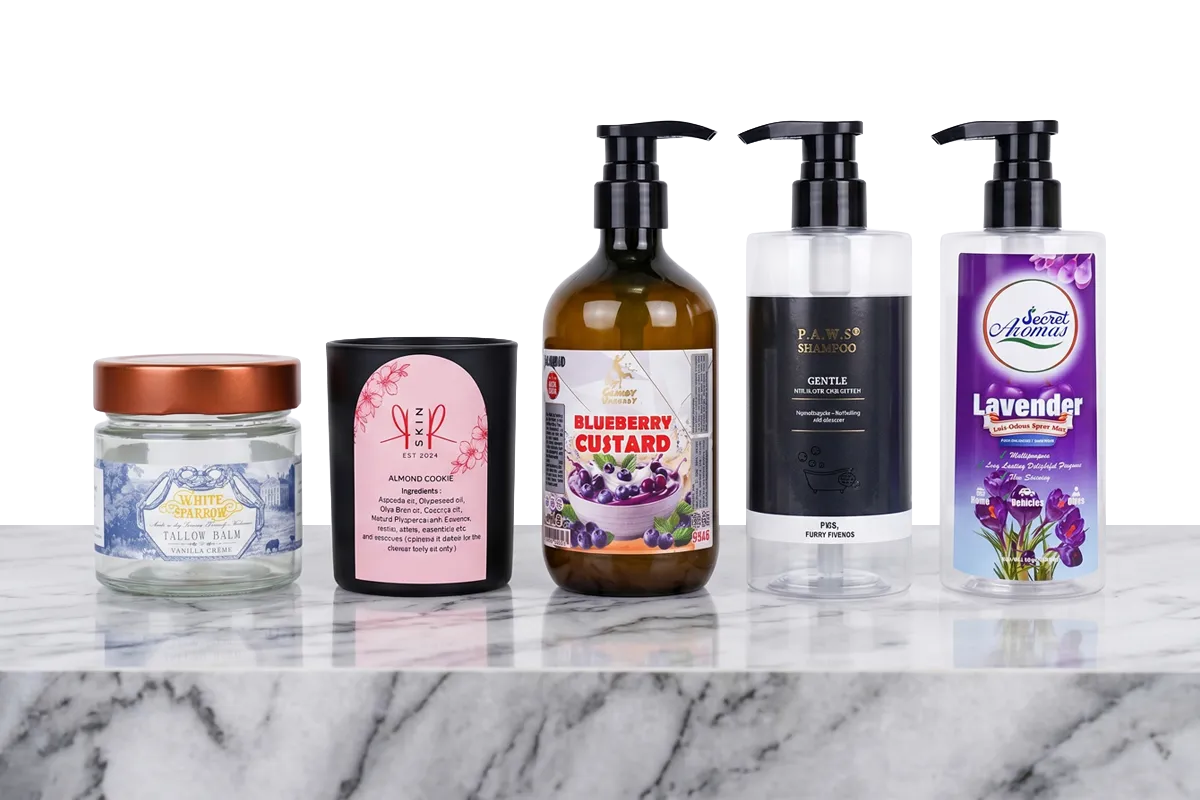
The environment finishes what the surface starts: condensation, cold, and product residue push marginal bonds over the edge.
A label can pass every material test and still fail on the shelf, because the tests never left the lab’s room temperature. The three environmental causes below are the gap between the lab and the shelf.
Refrigeration and Freeze-Thaw
Cold storage cycles moisture across the label’s edges and stresses the bond through expansion and contraction. A label that holds at room temperature can lift in the cooler within a week. The environment is part of the spec, and the diagnosis has to include it, because a lab that tests at room temperature will miss the cause entirely.
Product Residue at the Edges
Sauces, oils, and juices migrate to the pack surface and attack the label’s edges over weeks, softening the adhesive from outside in. The failure looks like edge lifting, but the cause is the product, not the surface. Oil-tolerant adhesives and sealed edges answer it, and the fix shows up as clean edges on the next run.
When the Environment Wins
Some environments simply demand a different construction: film instead of paper, freezer adhesives instead of standard, laminates instead of bare print. The honest diagnosis names the environment as the cause and changes the construction to match it, instead of blaming the adhesive for a fight it was never built to win.
Adhesion Failure Diagnosis and Fix Validation
Diagnosis runs on evidence, not hunches: test the suspect, isolate the layer, fix it, and validate on the real pack.
The three-step sequence below turns a shelf complaint into a corrected spec, one layer at a time. Each step produces real evidence, and that evidence decides the very next step.
The Fault Tree
The diagnosis sequence is short: observe the failure mode, check the surface, check the adhesive pairing, check the environment, then check the application. Each step eliminates a layer, and the remaining layer is the cause. The tree works because the failure modes are distinct, and each step takes less time than the one before it when it is followed in order.
Measuring the Fix
Adhesion is measurable, with peel tests defined by standards like ASTM D3330 giving the test method for pressure-sensitive adhesion. The lab number confirms what the shelf shows. The fix is validated the same way: measured before, measured after, and the difference is the proof the fix worked.
Validating on the Real Pack
The final validation runs on the real container, filled, through the real storage cycle, with the same failure check that found the problem. The fix is proven when the failure does not return, and the validation pack becomes the reference sample for future reorders. For the broader label selection context, see our guide on what custom labels are.
Frequently Asked Questions
How to clean sticky label residue off plastic?
Warm soapy water and gentle rubbing remove light residue, and oils or purpose-made adhesive removers lift the rest, with a patch test on the plastic first to protect the surface. The residue is the adhesive that stayed behind. On production packs, the same residue problem is solved at the source with adhesives matched to the surface.
How to restick a peeling sticker?
Clean the loose edge, apply a small amount of a compatible adhesive, and press the edge down firmly with dwell time. The repair is cosmetic, because a label that peeled once usually peels again. On production packs, the real fix is correcting the surface, adhesive, or application that caused the peel in the first place.
What is the best glue to restick stickers?
Spray adhesives and glue sticks work for paper repairs, while solvent-based adhesives suit vinyl, with care not to damage the print or the surface. The repair is a stopgap. Production labels never rely on re-gluing, because the failure signals a spec problem the reorder should fix.
How to make stickers stop peeling?
Start with a clean, dry surface, use an adhesive matched to the material, apply firm pressure with dwell time, and keep the edges clear of stress. Each step removes one peeling cause. At production scale, the same list becomes the line’s cleaning, adhesive spec, and application settings.
How to fix vinyl decal that is peeling?
Clean under the lifted edge, apply a compatible adhesive sparingly, press firmly, and let it set without stress. If the decal lifts again, the surface or adhesive pairing is wrong. On packaging, the equivalent fix is re-specifying the label for the container it actually sits on.
How to keep vinyl from peeling off?
The durable fixes are a clean surface, a matched adhesive, even application pressure, and a conformable film on curved or flexing surfaces. Short-term tricks like pressing edges back down do not last. The production version is the same four fixes written into the label spec.
How to get vinyl to stay on plastic?
Match the adhesive to the plastic’s surface energy, with polyolefin grades for HDPE and PP, apply to a clean, dry surface, and press firmly with dwell time. Low-energy plastics are the usual culprit when vinyl lets go. The same pairing logic governs production labels on plastic containers.
How to restore peeling vinyl?
Clean the lifted area, reapply a compatible adhesive, and press it flat with dwell time, though heavily curled vinyl may not sit flat again. Restoration is temporary by nature. The permanent answer is the same as for every adhesion failure: correct the surface, adhesive, or application that caused it.
What can I use to restick vinyl?
Spray adhesives and purpose-made vinyl adhesives restick lifted vinyl, applied thinly under the edge with firm pressure afterward. The repair holds for a while, but it does not replace the original bond. On production labels, resticking never enters the plan, because the reorder fixes the pairing that failed the first time.
How to fix logo peeling off?
Clean the lifted area, apply a compatible adhesive under the edge, and press it flat with dwell time, with heat helpful for curved spots. If the logo lifts again, the surface or adhesive pairing is wrong. The same repair logic applies to product labels, where the permanent fix lives in the spec, not in the touch-up.
Conclusion
Label adhesion failures follow a short, solvable fault tree: the failure mode names the layer, the layer names the cause, and the fix then gets validated on the real pack. Glass failures usually trace to contamination and condensation, plastic failures to surface energy, and environmental failures to the pack’s own storage conditions. The diagnosis is the cheapest part of the repair, and skipping it is the most expensive decision on the order.
For brands fighting recurring label adhesion problems, Meikei diagnoses the failure on your actual packs and validates the corrected construction before the reorder goes to press.