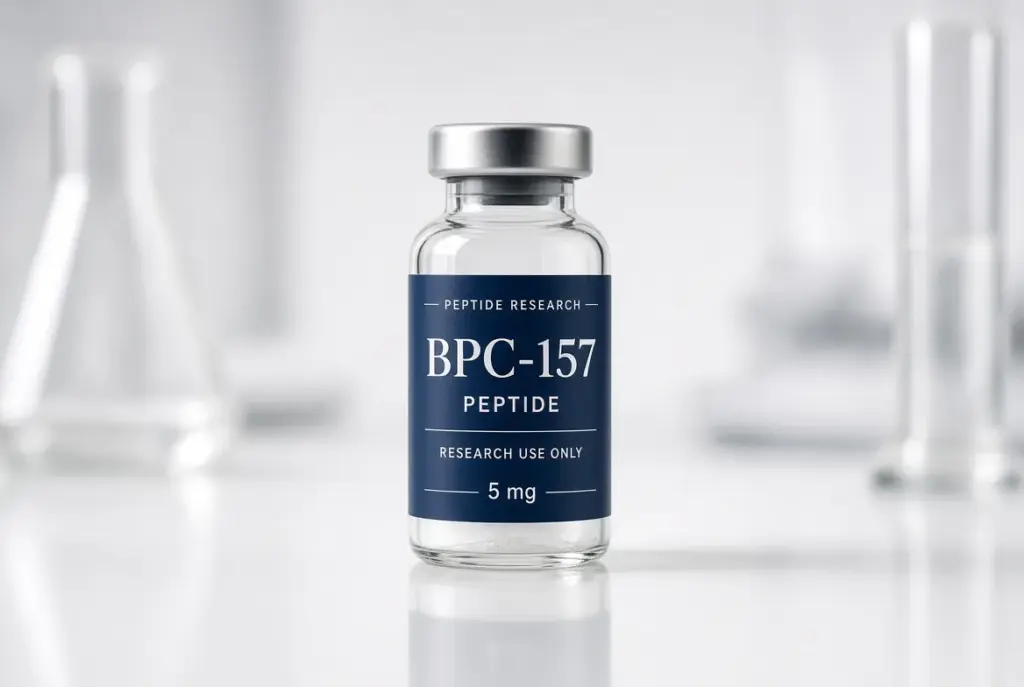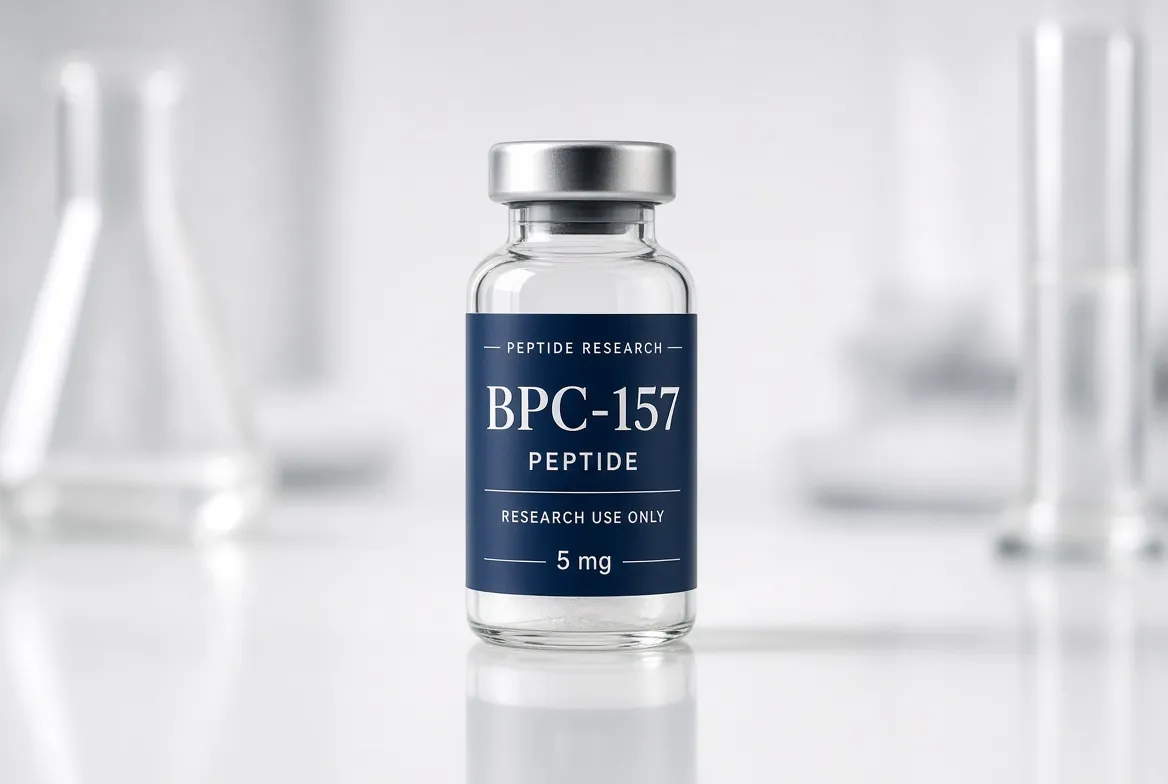
Peptide labels look like the simplest item on your packaging bill until the artwork meets the vial. A 2 ml vial body measures roughly 11.6 mm across, curved glass fights adhesive, and storage can swing from room temperature to freezer. The label still has to carry product name, strength, lot number, and a scannable code on a surface smaller than a postage stamp.
Treating peptide vial labels as a small sticker is the mistake this guide exists to prevent. A label that reads correctly in the artwork file can still flag, wrinkle, or become unreadable on the actual vial. The chapters below cover information, materials, vial geometry, printing, and the checks to run before mass production.
What Are Peptide Labels?
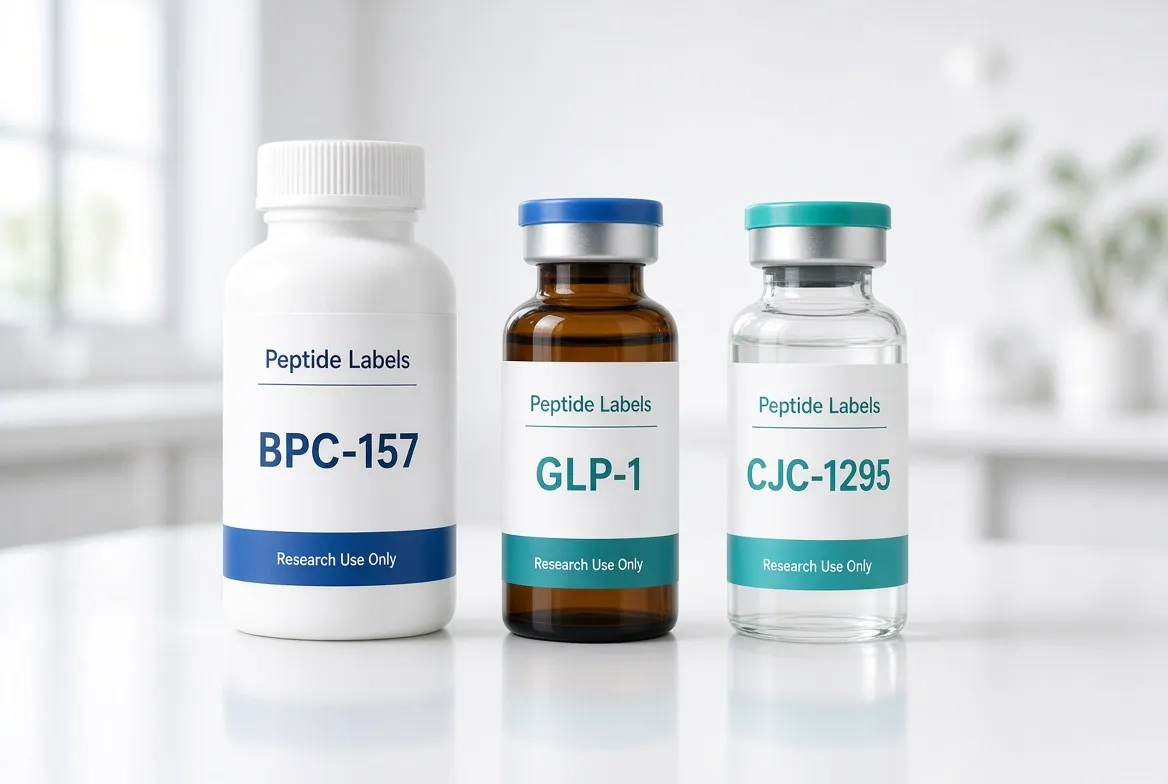
Buy peptide labels as a production system, not as a sticker ordered by size.
Peptide labels are pressure-sensitive labels engineered for the small vials that hold peptide products, sold by supplement brands and research product lines. The format sounds like any bottle label, but the constraints stack differently.
A tiny cylindrical surface, dense mandatory information, variable data on every unit, and storage that can include freezing. That stacking is why off-the-shelf labels fail here.
What Makes Peptide Labels Different
Three differences matter most, and each one changes the specification.
- Surface area: the usable zone on a small vial is a narrow band, so information hierarchy and label size must be engineered together.
- Variable data: every unit carries its own lot number and expiry, which points production toward digital printing.
- Environment: adhesives and facestocks must survive cold chains and condensation that ordinary retail labels never face.
Common Uses for Peptide Labels
Peptide brands label 2 ml, 5 ml, et 10 ml glass vials across supplement and research lines, usually pairing a body wrap label with a folding carton. Distributors run multiple SKUs from one supplier to keep colors and finishes consistent across the catalog, and contract packagers add machine-applied roll labels as volume grows.
What Information Should a Peptide Label Include?
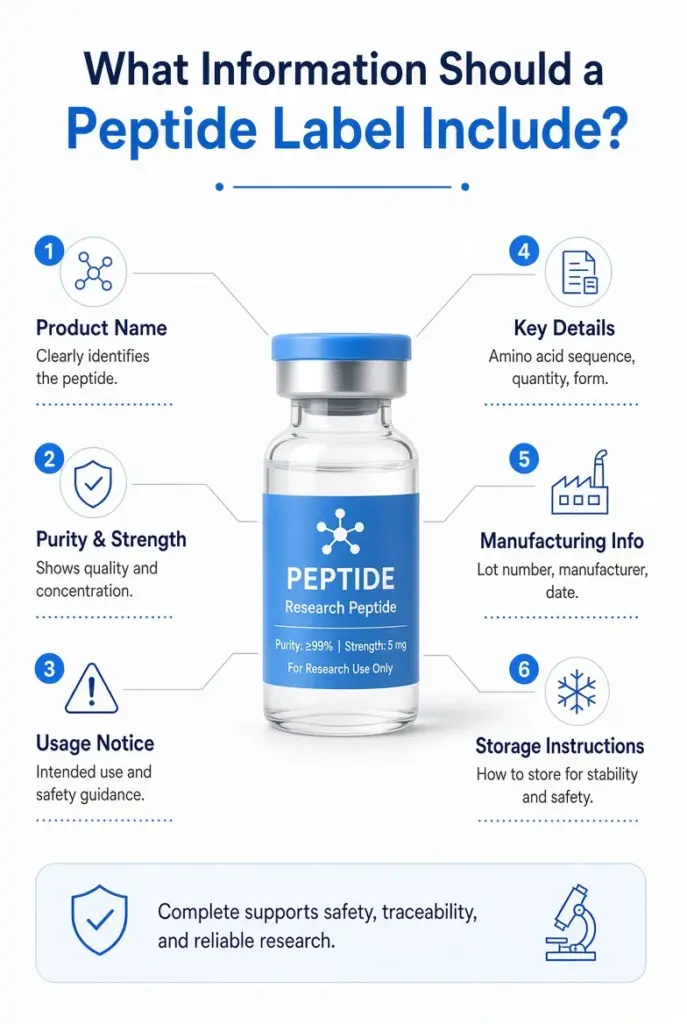
Information planning comes before material selection, because the data set defines the minimum label size.
Work the hierarchy in this order: identity, variable data, machine-readable codes, then brand. Each tier below locks in part of the layout.
Product Name, Strength and Key Details
The label leads with product name and strength, for example a peptide name with its mg per vial, then quantity or volume and the supplier’s identity. Storage direction and handling notes sit in the second tier. Check the proof at 100% print size on the physical vial, not on screen.
Lot Numbers, Batch Codes and Expiry Dates
Every unit needs its own lot or batch code and expiry date, printed per-vial rather than per-roll. That requirement makes variable data printing (PDV), a digital process that changes text from label to label without stopping the line, the natural production method.
Confirm where variable fields sit on the dieline and how much clearance they need. A barcode printed over a curved seam scans badly or not at all.
Barcodes, QR Codes and Scannability
Barcodes and QR codes link each vial to inventory systems and authentication pages. On a curved 12 to 24 mm surface, code size, quiet zones, and contrast decide whether a scanner reads the vial on the first pass. Test on the actual vial, since flat proofs cannot reproduce how a wrap distorts the code.
Creating a Clear Information Hierarchy
Rank every element into three tiers and lay the vial band out in that order. When space forces a cut, trim tier three first.
- Tier one, what identifies the product at a glance: name and strength.
- Tier two, what regulators and inventory systems require: lot, expiry, and codes.
- Tier three, what supports the brand: logo, colors, and finish.
A beautiful label that buries the strength forces customers and staff to hunt for the one number they needed.
How Do You Choose Label Materials and Construction?
Get materials right and the label survives the cold chain; get them wrong and the failure surfaces at the refrigerator door.
Material and construction decisions lock in durability, appearance, and application behavior. Four decisions dominate the specification.
BOPP, Paper and Clear Film Options
BOPP (biaxially oriented polypropylene) is the default for peptide vials: waterproof, oil-resistant, flexible enough to wrap tight curves without flagging, and printable in matte or gloss white.
Paper labels bring a premium tactile feel but absorb moisture, so they suit dry programs or an outer carton rather than the vial itself. Clear film creates the popular no-label look but demands clean printing and careful adhesive choice. The trade-offs between film and paper substrates run deeper than appearance, and they apply to vials with full force.
| Matériel | Look | Durability | Best For |
|---|---|---|---|
| White BOPP | Matte or gloss white | Waterproof, oil-resistant | Default vial wrap |
| Clear BOPP or PET | No-label look | Waterproof | Premium minimalist brands |
| Art paper | Premium tactile | Moisture-sensitive | Dry storage, cartons |
| Textured kraft | Naturel, matte | Moisture-sensitive | Eco positioning, dry lines |
Choosing Adhesives for Curved Vials
Small-diameter curves are the hardest application in labeling: the label wants to return flat, so the adhesive must hold a permanent bend without oozing at the edges. Specify an adhesive rated for small-diameter mandrels and matched to the vial surface, glass or plastic.
Ask for the application temperature range too. A label applied warm then chilled behaves differently from one applied cold.
Matching Labels to Storage Conditions
Storage drives the specification. State your worst-case condition to the manufacturer, not the average one.
- Room temperature: standard permanent adhesives hold reliably.
- Refrigerated, 2 to 8 °C: cold-rated adhesive that survives condensation when the vial comes out.
- Freezer, -20 °C and below: freezer-grade adhesive paired with a durable film facestock, because standard adhesive turns brittle and releases.
Lamination and Moisture Protection
A laminate or UV varnish over the printed surface protects ink from rubbing, water, and alcohol wipes. Gloss lamination adds shine and scuff resistance, while matte reads premium and hides fingerprints.
For vials facing repeated cold-chain condensation, laminated BOPP is the safe default: printing sits sealed between the film facestock and the laminate, so moisture never touches ink.
Get Production-Ready Peptide Vial Labels
How Do Vial Size and Design Affect Label Application?
Measure first, design second: the sequence prevents the most common failure in vial labeling.
The vial’s geometry sets hard limits on the label before design begins. A label sized for the screen instead of the cylinder flags, wrinkles, or overlaps its own edge on the real vial.
Measuring Your Vial for the Right Label Size
Two measurements define the usable area: the cylinder’s outside diameter and the straight wall height between the shoulder curve and the base curve. The wrap length must stay under the circumference (π × diameter), and the label height must sit inside the straight wall zone.
The same logic behind label sizing on any container applies here with a twist: on an 11.6 mm vial, every millimeter of error is a large percentage of the total.
Accounting for Curvature and Application Tolerance
Leave a 1 to 2 mm gap where the label’s leading edge meets its trailing edge, because hand application wanders and machine application tracks within a tolerance band. Curvature also squeezes the label’s apparent height at the edges, so text placed hard against the top or bottom distorts on the curve.
Keep critical content inside the middle 80% of the wrap band and let the edges carry quiet space.
Designing for Readability at Small Sizes
Small-format readability rewards restraint. Test the minimum type size on a printed proof wrapped on the real vial under normal light, not on a monitor.
- High contrast between type and background.
- Sans-serif fonts at consistent weights.
- Nothing decorative below the legibility floor.
If the strength or lot number demands a squint, the design has failed regardless of how the file looked at 400% zoom.
Hand Application vs. Machine Application
Hand-applied labels run as cut singles or small sheets, favoring forgiving adhesives and a generous wrap gap. Machine application needs roll-fed labels wound to the applicator’s direction, consistent release liners, and tight die-cut tolerances, specifications you must state at order time.
A supplier who learns mid-production that a hand-label order was destined for an applicator line will be re-running it.
What Printing and Finishing Options Work for Peptide Labels?
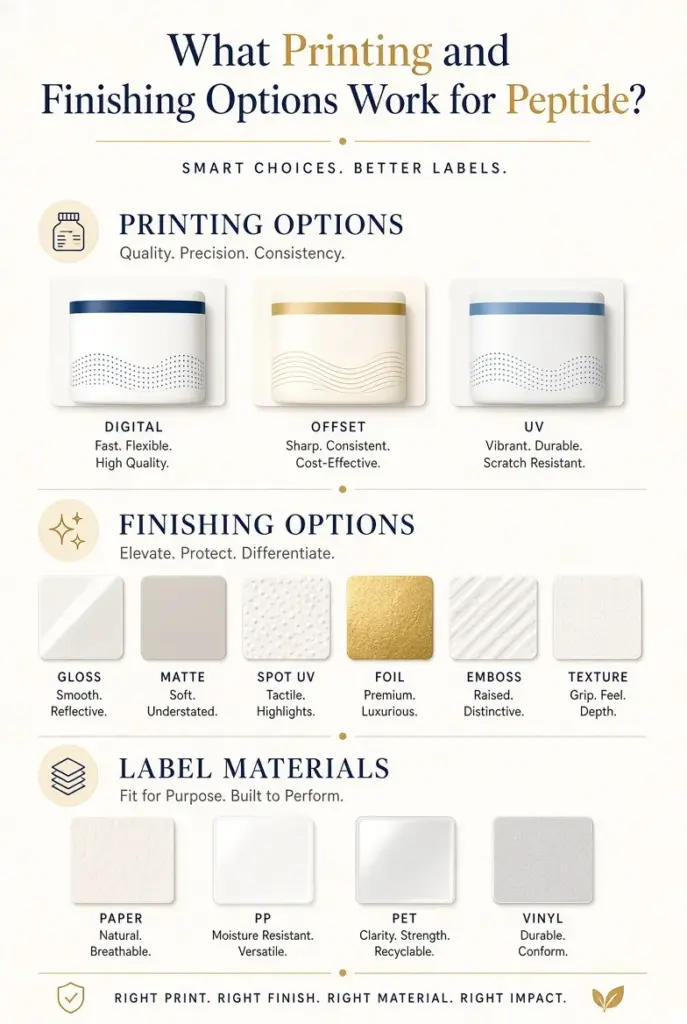
Print method controls cost and versioning flexibility; finishing controls shelf impression.
Both must respect the small format, because fine details that survive on a wine label can muddy at vial scale.
Digital and Flexographic Printing
Digital printing carries no plate costs and prints variable data natively, which makes it the standard for peptide programs: short runs, multiple SKUs, per-unit lot and expiry codes. Flexographic printing pays back at volume, where plates drive the unit price down on long runs of a fixed design.
Many peptide brands run digital for new SKUs and market tests, then migrate proven SKUs to flexo as volume justifies it.
| Method | Strength | Best Fit |
|---|---|---|
| Numérique | No plates, variable data | Short runs, many SKUs |
| Flexographic | Low unit cost at volume | Long runs, fixed design |
| Variable data add-on | Per-unit lot and expiry | Compliance marking |
Variable Data for Product Information
Variable data printing turns one dieline into thousands of individually coded labels, with name, strength, lot, and expiry printed per unit from a data file. Confirm the supplier’s process for data integrity: how the file is verified, how prints are checked against it, and what happens when the sequence breaks.
A skipped or duplicated lot code is not a cosmetic defect. It is a traceability failure that reaches into inventory and customer trust.
Foil, Embossing and UV Finishes
Premium cues scale down to vials well. Keep them on the brand tier of the hierarchy so they never compete with lot and strength legibility.
- Hot foil stamps metallic accents that read as luxury even at 15 mm wide.
- Embossing raises a logo into tactile relief.
- Spot UV adds a gloss accent against a matte laminate.
The choice between hot and cold foil balances cost against fine detail on small art.
Maintaining Consistency Across SKUs
A peptide catalog wins trust when the 5th SKU looks like the 1st. Lock a brand template covering panel layout, type sizes, color values, and finish stack, and let only the variable tier change between products.
Calibrated color management keeps those colors matched across digital and flexo runs and across reorders months apart. Ask a prospective custom label manufacturer how they hold cross-SKU consistency; process answers, not assurances, are what you want to hear.
What Should Buyers Check Before Ordering?
The final gate before a production commitment is a checklist, not a feeling.
Run these checks in order and the order lands as specified.
Artwork, Dieline and Specifications
Submit final artwork against the supplier’s confirmed dieline, the template showing exact dimensions, safe zones, and variable-field positions. Attach the full specification: material, adhesive class, storage condition, print method, finish, winding direction, and roll or sheet format. Ambiguity at this stage is priced in later as re-runs.
| Pre-Order Check | What to Confirm |
|---|---|
| Dieline match | Artwork fits exact vial measurements |
| Material and adhesive | Rated for storage and application conditions |
| Variable data file | Lots, expiry, codes verified against source data |
| Physical sample | Fit, adhesion, readability on actual vials |
| QC and consistency | Inspection process, reorder color matching |
Why Physical Samples Matter
Artwork approval is necessary and insufficient. A physical sample on the actual vial shows whether the wrap gaps cleanly, whether flagging starts after chilling, and whether the lot code scans. Foil detail gets the same check at true scale.
Order printed samples, test them through your real storage and handling cycle, and only then release mass production. The sample costs days; skipping it risks the entire run.
Questions to Ask Your Label Manufacturer
Five questions separate production-ready suppliers from order-takers.
- Ask which adhesive they recommend for your exact vial and storage range, and why.
- Find out how they verify variable data integrity.
- Request evidence of documented color control on press.
- Confirm what inspection happens per batch.
- Learn what the reorder process does to hold consistency.
Specific answers to all five mean your peptide labels are being engineered. Vague answers mean they are being printed and hoped for.
Frequently Asked Questions
What are peptide labels used for?
Peptide labels identify and track peptide products packaged in small glass vials, typically 2 ml, 5 ml, et 10 ml sizes. They carry product name, strength, lot number, and expiry data for supplement brands, research product lines, and distributors, and they pair with folding cartons for retail presentation.
What information should be on a peptide label?
Core items are product name, strength per vial, quantity or volume, and supplier identity. Variable data covering lot number, expiry date, and a barcode or QR code changes per unit. Storage and handling notes complete the label, ranked so name and strength dominate the limited space.
What size label fits a peptide vial?
Label size follows the vial’s outside diameter and straight-wall height. Keep the wrap under the circumference (π × diameter) with a 1 to 2 mm gap, and keep the height inside the straight wall zone. Measure each vial model, because a 2 ml and a 10 ml vial need different labels.
What is the best material for peptide vial labels?
White BOPP is the default: waterproof, oil-resistant, and flexible enough to hold tight curves without flagging. Clear BOPP or PET suits premium no-label looks. Paper labels work for dry, room-temperature programs but absorb moisture, so most vial applications favor film facestocks.
What adhesive is best for small vial labels?
Use a permanent adhesive rated for small-diameter mandrel application and matched to the vial surface (glass or plastic) plus your storage range. Refrigerated and frozen programs need cold-rated or freezer-grade adhesives, because standard adhesive turns brittle and releases at low temperatures.
Should I request a sample before mass production?
Always. A printed sample on the actual vial confirms fit, adhesion, lisibilité, and scan performance through your real storage cycle, checks no artwork file can substitute for. The sample adds days to the timeline; skipping it risks the entire production run.
Final Thoughts
Peptide labeling rewards buyers who treat the label as packaging engineering. That means information tiered for a tiny curved surface, materials matched to real storage, size derived from measured geometry, and printing specified for variable data. Most peptide label failures trace to a single skipped decision, so settle each choice in order.
Specify for the worst case, with BOPP plus a cold-rated adhesive as the safe default. Verify physically, because printed samples scanned, chilled, and handled on actual vials are the only proof that matters before mass production.
Ready to spec your peptide label program? Start with custom label manufacturing options and request printed samples, where the pre-flight artwork check comes standard.