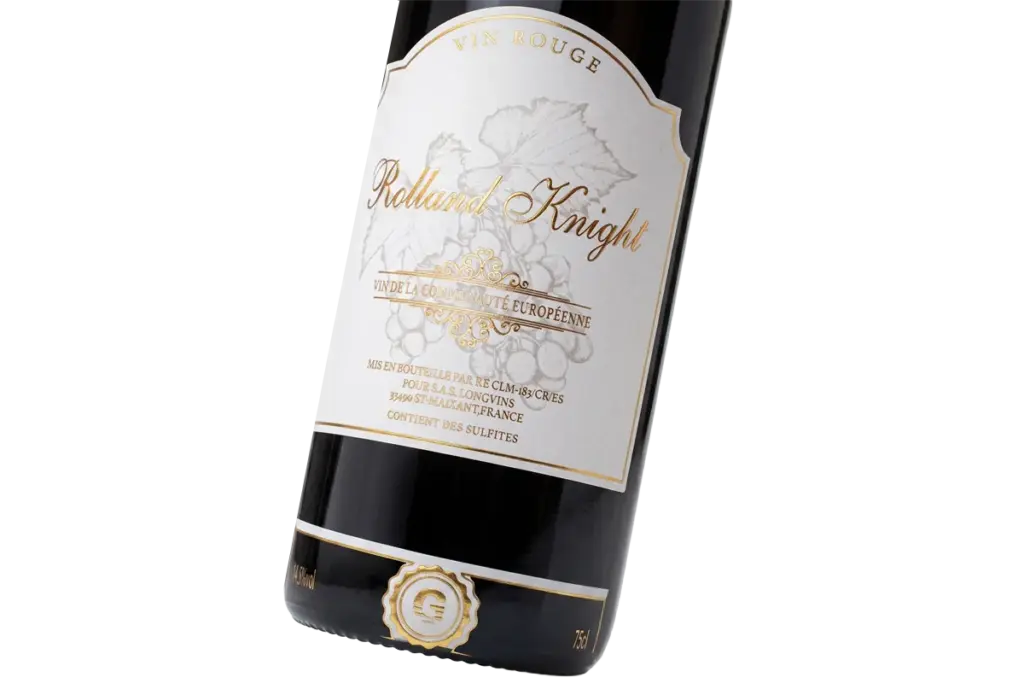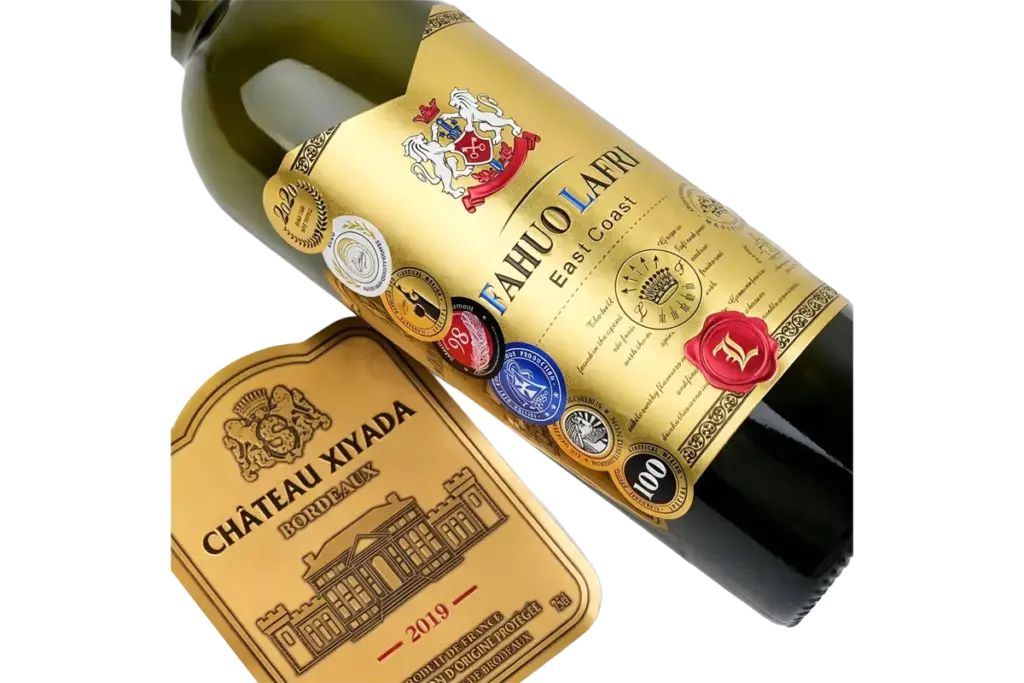
Getting the right custom label size starts with accurate container measurements. A label that is too large or too small can cause edge lifting, poor alignment, barcode placement issues, or an unbalanced appearance on the finished package.
The shape and usable surface of your packaging also determine how much space is available for branding and product information. From bottles and jars to boxes and gift packaging, the right dimensions help your custom labels fit the package cleanly while leaving enough room for essential details and a polished overall look.
Why Does Label Size Matter for Product Packaging?
Label size directly dictates shelf presence, printing costs, and regulatory compliance. Getting the dimensions wrong by even a millimeter can trigger barcode failures or edge lifting.
Will your product stand out on the retail shelf, or will the edges of your packaging curl and peel before a customer even picks it up? Choosing the wrong label size turns a premium design into a costly logistics disaster.
Your container defines the available visual space for the label. A label that is too large can make the packaging feel crowded, while a smaller, well-positioned label can leave intentional space for the container material and overall design.
How Label Size Affects Packaging Appearance
Packaging geometry determines the limits of your visual canvas. Standard practices ensure that your design matches the physical dimensions of the container without running into application errors:
- Target Panel Coverage: Front-facing labels should be sized according to the usable panel area and the desired balance between branding, product information, and exposed packaging.
- Safety Margins: Leave a practical clearance from curved edges, seams, and other transitions to reduce the risk of lifting or wrinkling during application.
- Cylindrical Visibility: For cylindrical containers, consider the viewing angle and container curvature when deciding how far the label should wrap around the surface.
How Size Influences Label Information and Branding
A label serves as a highly functional document. You must balance visual real estate between brand assets and strict legal requirements to guarantee readability on store shelves:
- Regulatory Legibility: Sufficient label area is needed to accommodate required product information, warnings, ingredients, and other market-specific labeling requirements at a readable size.
- Scan Reliability: Leave sufficient clear space around barcodes according to the applicable GS1 specifications, and keep critical code elements away from cuts, seams, and curved areas.
- Visual Hierarchy: A well-planned label size establishes clear typographic hierarchy, allowing the primary brand name to stand out while secondary product claims remain readable.
- Multi-Label Allocation: Using multi-label systems—such as separate front and back labels—allocates maximum area for branding on the front while consolidating dense compliance data on the back.
Getting the exact dimensions sorted before you send designs to the printer protects your budget and your timeline. By scaling the artwork directly to physical container measurements first, you bypass the common trap of forced design shrinking later.
How Do You Measure the Right Label Size?
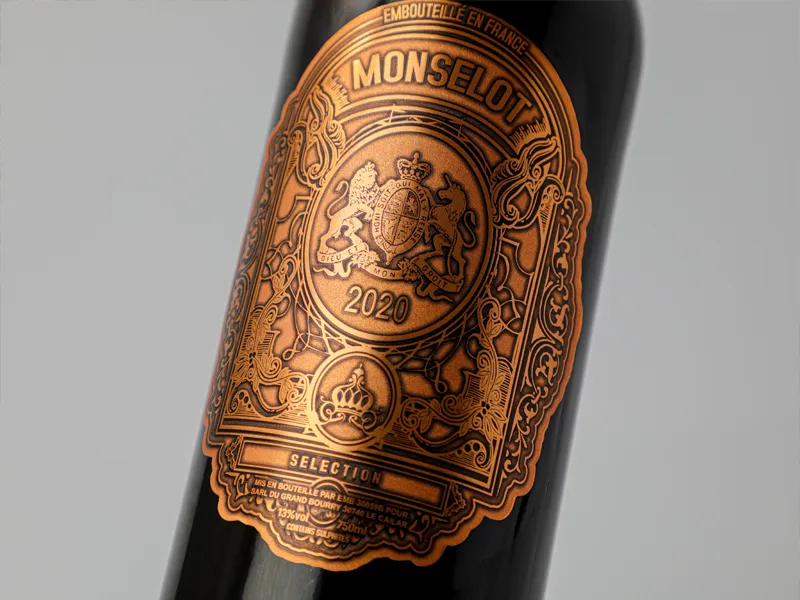
How do you measure the right label size when your product container features compound curves, tapered walls, or deep-set recesses? Miscalculating these dimensions by even a fraction of an inch can cause labels to buckle, crease, or lift on the retail shelf.
Exact label sizing requires isolating the flat packaging surface, subtracting safety margins to prevent edge lifting, and prototyping with paper templates before production.
| Packaging Surface | Key Dimension to Measure | Recommended Margin Adjustment |
|---|---|---|
| Flat Panels (Boxes, Pouches) | Usable width and height | Subtract 1/8″ (approx. 3 mm) from all outer edges |
| Cylindrical Containers (Butt Fit) | Total circumference | Subtract 1/8″ to 1/4″ to create a non-overlapping gap |
| Cylindrical Containers (Overlap Seam) | Total circumference | Add 1/4″ to ensure secure adhesive-to-label bonding |
| Bottles, Jars, & Vials (Vertical) | Straight sidewall height | Subtract 1/8″ to 1/4″ to avoid curved shoulder and base zones |
Measuring the Available Packaging Area
Before ordering any custom dies, we must isolate the true labeling zone. This means mapping the completely flat area of your packaging container and ignoring decorative shoulders, ridges, or base seams that interfere with adhesive contact.
- Vertical Height: Measure the usable flat space from the bottom curve to the shoulder, then subtract a margin of 1/8″ to 1/4″ to prevent the label from rising into curved zones.
- Horizontal Width: Determine the usable horizontal width and leave sufficient clearance from panel transitions, corners, or other areas that may affect label application.
- Cylinder Circumference: Wrap a flexible tape around cylindrical containers to measure the circumference. Subtract 1/8″ to 1/4″ to leave a clean gap, or add 1/4″ if you require a secure overlap.
Applying these buffers protects your production lines. Automated labeling machines require these small placement tolerances to handle minor container variations without skewing the labels.
Accounting for Curved and Irregular Packaging Surfaces
Curved and contoured surfaces introduce complex geometry that standard flat rulers cannot capture. When you apply a flat label to a curved surface, physical stress builds up along the edges, risking adhesive failure.
- Flexible Tools: Employ sewing tape, flexible rulers, or physical paper mockups to map curved profiles accurately before committing to production tooling.
- Tapered Profiles: Address container taper by measuring both the top and bottom circumferences. If the difference is significant, use a curved die-cut shape or a shorter label height to avoid wrinkling.
- Recessed Panels: Isolate recessed panels and treat them as distinct flat zones, maintaining a mandatory 1/8″ clearance from all molded boundaries.
- Diameter Limits: Factor in container diameter limits. Small vials and cosmetic tubes have tight curves that require narrower labels to prevent edge lifting and flagging.
We strongly advise executing a “cut and wrap” paper test. Printing your proposed dimensions on standard paper and wrapping it on the actual container immediately reveals if the edges creep onto curves or if your artwork sits in the primary viewing zone.
Elevate Your Brand With Premium Labels
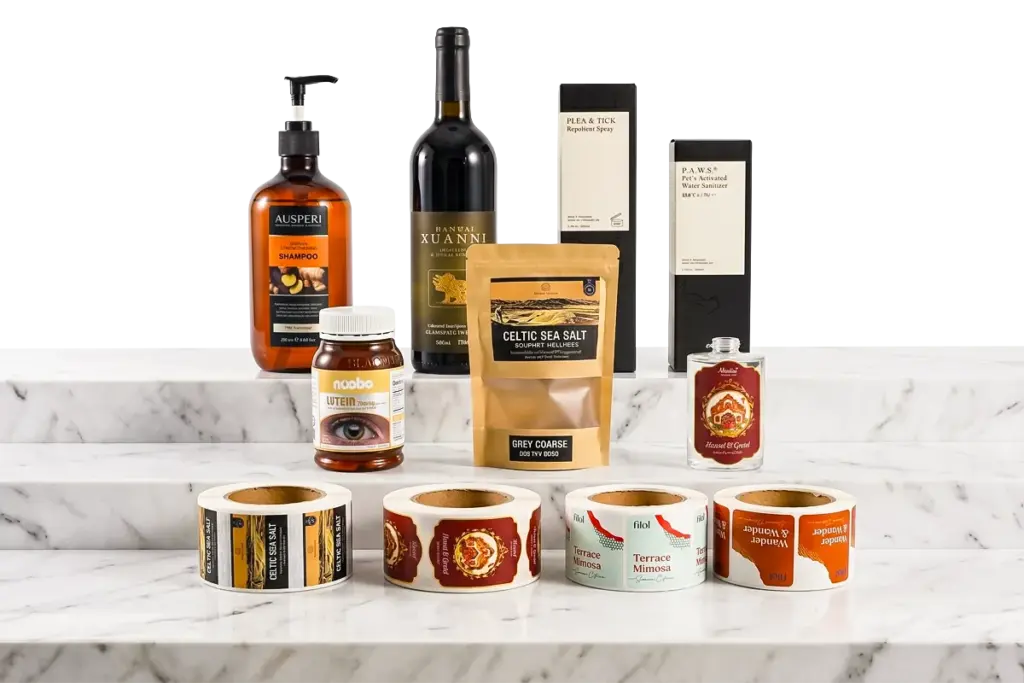
What Label Sizes Work for Different Product Packaging?
Finding the right label sizes for different product packaging requires measuring only the flat, usable zone and subtracting a 3 mm safety margin to prevent peeling.
Trying to apply a flat sticker to a curved bottle shoulder instantly ruins your shelf presence. Finding the exact label sizes for different product packaging ensures your branding stays flat, legible, and wrinkle-free on the retail shelf.
Label Sizing for Bottles and Jars
Bottles and jars present a physical challenge due to their curves. You must limit the label height to the flat vertical sidewall to prevent buckling or creasing.
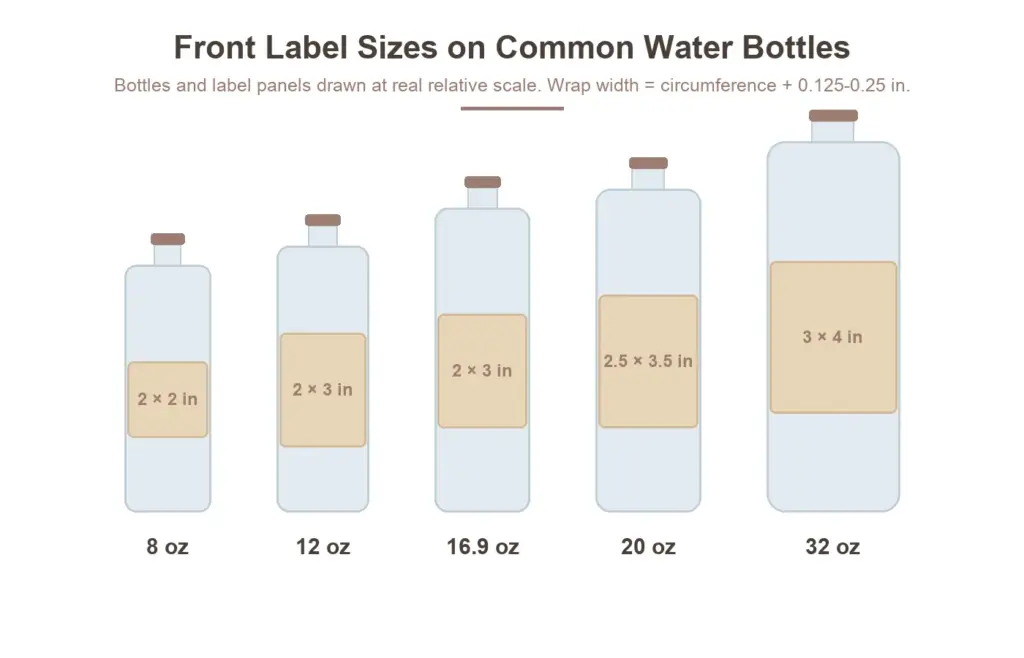
- Small Containers (4 oz / Droppers): A 2″ x 3″ (51 x 76 mm) format can work for some small containers, but the final size should be based on the available surface area and container shape.
- Medium Containers (8–12 oz): Common formats include approximately 2.5″ x 2″, 3″ x 2″, 2″ x 4″, or 3″ x 4″, depending on the container shape and available labeling area.
- Large Containers (16 oz): Formats such as 3″ x 5″ or an 8″ x 2″ wrap label may work for some containers, but the final dimensions should follow the available labeling surface.
- Wine Bottles (750 ml): Apply 3.5″ x 4″ or 4″ x 5″ portrait rectangles to keep the label visible on the front shelf arc.
- Lids and Caps: Utilize circular labels scaling from 1″ to 3″, with 2″ (50 mm) and 3″ (76 mm) circles acting as the industry standard for top-view packaging.
To find the correct size, measure the flat vertical area of the container first. Always subtract a 3 mm safety clearance from both the top and bottom to prevent edge lifting on curved shoulders.
Label Sizing for Boxes and Gift Packaging
Flat surfaces like boxes and mailers are more forgiving than cylinders, but they still require strict proportion control to look professional. A label that is too large looks crowded; one that is too small looks cheap.
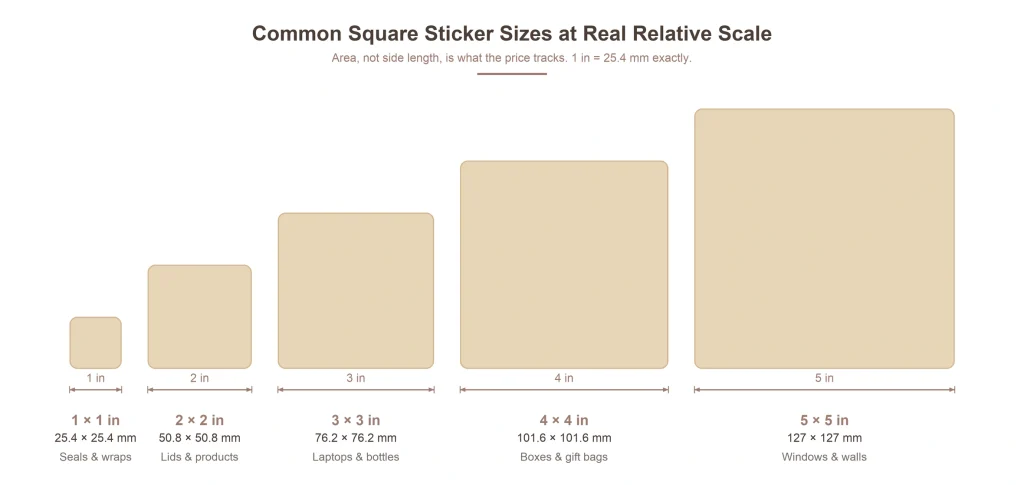
- Small Retail Boxes: Use 2″ x 2″ or 2″ x 3″ labels for small jewelry, cosmetics, or supplement cartons.
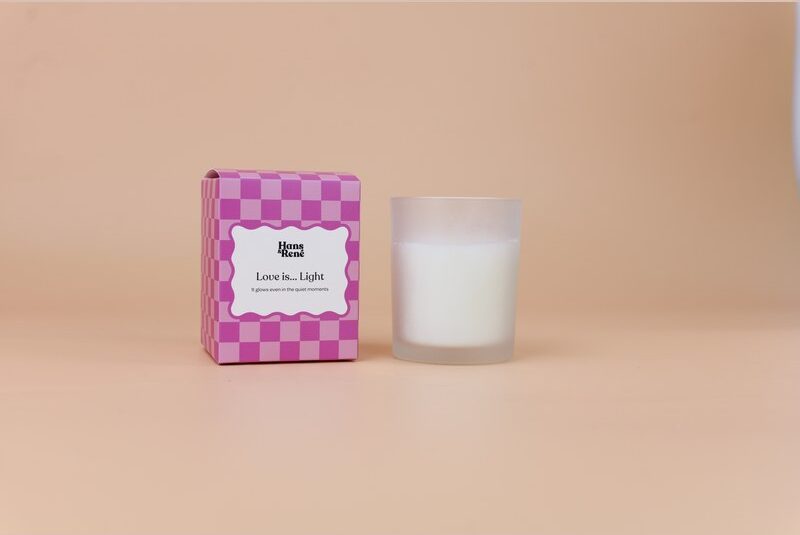
- Standard Boxes (Candles / Subscription): Scale up to 3″ x 3″ or 3″ x 4″ rectangles.
- Large Cartons & Gift Sets: Rely on high-impact 4″ x 6″ or 5″ x 5″ square labels to maximize branding visibility on the front face.
- Tissue & Bag Seals: Utilize 1.5″ to 2.5″ circular stickers to secure tissue paper and gift bag openings elegantly.
When planning your box layout, size the front label to suit the panel—often around half to three‑quarters of the face. Keep a safe margin (about 1.5–3 mm) from edges and creases. For dense information, use a multi‑label strategy: a bold primary sticker on the front, plus smaller labels on the side or bottom for barcodes and ingredients.
How Do Shape and Design Affect Label Size?
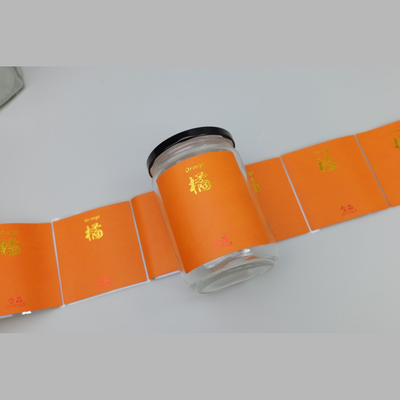
Container geometry limits physical borders, while design density sets the minimum readable scale. Standardizing tolerances prevents costly application failures.
Miscalculating how shape and layout impact your final label size leads to peeling corners, unscannable barcodes, and ruined production runs. Your packaging geometry and visual layout directly dictate the absolute limits of your printable area.
Matching Label Dimensions With Die-Cut Shapes
Applying a flat material to a three-dimensional container requires precise geometric calculations. If you ignore how curvature and corners behave under stress, your labels will bubble, wrinkle, or lift off the line.
- Edge Clearance: Maintain a 2 to 5 mm margin on flat panels and curves to stop the material from shifting into stress zones.
- Cylindrical Wrap: Calculate the full circumference, then subtract a 3 to 6 mm seam gap to prevent overlapping misalignment.
- Front Arc Coverage: For front-only labels, consider the visible container area and viewing angle when deciding how much of the front arc the label should cover.
- Corner Radii: Rounded corners can reduce exposed sharp points and may improve handling, with the radius selected according to the label size, material, and die-cut shape.
- Production Bleed: Supply files with a 2 mm external bleed margin to guarantee seamless colors during die-cutting.
- Internal Safe Zone: Keep critical text and graphics approximately 2–3 mm inside the cut line, or follow the printer’s specified safe zone for the project.
Specialty circles and ovals look premium, but they restrict your actual canvas. Because text must fit inside the inscribed rectangle of a curved shape, you will need a larger overall die-cut to display the same amount of information as a standard rectangle.
Balancing Logos, Product Information, and Decorative Elements
Cluttering your canvas forces you to purchase larger dies, driving up material costs. Establishing a clean layout hierarchy naturally maximizes your existing space without spilling over the boundaries of the container.
- Typography Scale: Give primary brand and product information enough visual emphasis to establish a clear hierarchy while keeping secondary details readable.
- Regulatory Minimums: Check the applicable labeling requirements for the product category and target market to determine the required text size and legibility.
- Logo Proportion: Position and size the primary logo according to the available label area and the overall visual hierarchy of the packaging.
- Logo Buffer Zone: Leave sufficient clear space around the logo so it remains visually distinct from product information and decorative elements.
Instead of cramming barcodes, ingredient panels, and brand stories onto a single sheet, split the workload. A highly visual front panel paired with a dense, structured back panel keeps your packaging visually balanced while meeting compliance rules easily.
How Can a Label Manufacturer Help Finalize the Size?
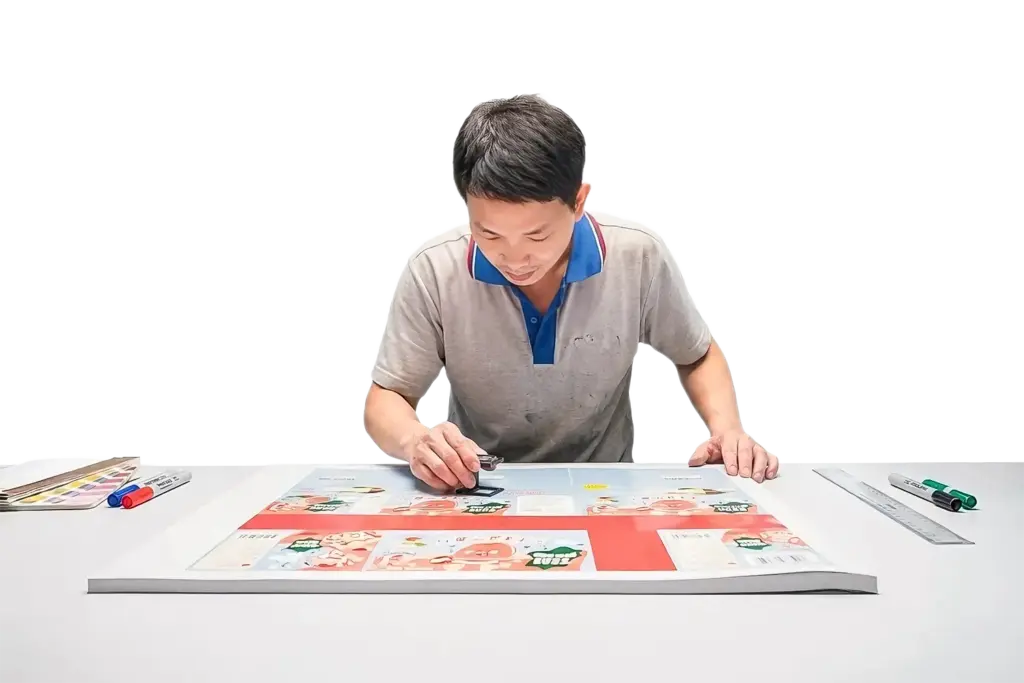
A label manufacturer matches digital artwork to physical container geometry through technical reviews and physical prototyping, preventing application errors before mass production begins.
Working with an experienced label manufacturer helps finalize the size of your packaging labels before you invest in expensive production runs. This step-by-step collaboration eliminates the guesswork of matching flat graphics to complex, three-dimensional containers.
Reviewing Artwork and Packaging Dimensions
To avoid edge lifting, an experienced label manufacturer translates container measurements into accurate digital dimensions. The process includes calculating the usable surface area, determining cylindrical circumferences for wrap-around designs, and allowing suitable clearances for the label material and application.
- Bleed and Safe Zones: Artwork is checked for the required bleed and safe distance around the cut path. A 2 mm bleed and approximately 2 mm safety distance are common printing specifications, but the final values should follow the printer’s requirements.
- Curved-Surface Considerations: Critical elements such as barcodes and nutrition information are positioned away from container seams, corners, tight curves, or sharply tapered areas where distortion can affect appearance or scanning.
- Legibility Check: The print scale of your design is reviewed to ensure required text remains legible and meets the applicable labeling requirements for the target market and product category.
Before finalizing the tooling, blank templates or physical samples can be prepared for testing. Placing them directly on your container allows you to inspect the label’s appearance and confirm the overall fit.
Sampling Before Mass Production
Physical prototyping bridges the gap between digital design and factory application. Blank die-lines or samples can be produced using the selected label material to test how the label performs on the actual container surface.
- Adhesion and Material Behavior: Testing helps confirm whether the selected face stock and adhesive can lay flat without excessive lifting or flagging on tight radiuses.
- Application Tolerances: The sample is checked against the intended application method and equipment requirements to identify potential alignment or placement issues during machine labeling.
- Iterative Adjustments: If bubbling, wrinkling, or unwanted overlap appears at the seam, the label dimensions can be adjusted based on the test results and the characteristics of the container and material.
Once the samples apply cleanly, the final specifications can be documented. This approved specification records the label dimensions, trimming tolerances, and unwind direction to help maintain consistency across future production runs.
Final Thoughts
Generic templates and off-the-shelf sizes may save time at the beginning, but checking the label dimensions against the actual container can help avoid edge lifting, creasing, poor alignment, and application problems. Even a small sizing adjustment can make a noticeable difference in how the finished packaging looks and performs.
Before moving into full production, we recommend testing a physical sample on your actual container to confirm the material, adhesive, die-cut shape, and final dimensions. As an experienced custom label manufacturer, Meikei can also review your artwork and packaging specifications to help finalize suitable label sizes, finishes, and production requirements.
Frequently Asked Questions
What is the standard size for product labels?
There is no single standard product label size. The right dimensions depend on the container shape, usable surface area, label design, and the amount of information that needs to fit on the label.
How do I measure a label for a bottle?
Measure the usable height of the bottle’s straight sidewall and its circumference if you need a wrap-around label. Keep the label away from curved shoulders, the base, and other areas that may affect application.
How much space should be left around a product label?
Leave enough clearance between the label and curves, seams, folds, or edges to support clean application. The exact amount depends on the container, label material, adhesive, and application method.
Should a label cover the entire bottle?
Not necessarily. A full-wrap label can provide more space for branding and product information, while a front-only label can leave part of the bottle visible and create a more balanced appearance.
How do you measure a curved surface for a label?
Use a flexible measuring tape to measure the circumference of a cylindrical surface. For tapered or irregular containers, measure different sections and use a paper template to check the actual fit before production.
What size label fits a jar?
The suitable size depends on the jar’s diameter, height, and available flat surface. Measure the straight sidewall first, then adjust the label dimensions to keep the edges away from curved areas.
How does bottle shape affect label size?
Bottle curves, tapers, shoulders, and recessed areas can limit the usable labeling surface. Tightly curved or tapered bottles may require shorter, narrower, or specially shaped labels to reduce wrinkling and edge lifting.
Should front and back labels be the same size?
No. Front and back labels can have different dimensions depending on their purpose. The front label usually emphasizes branding, while the back label may need more space for ingredients, instructions, barcodes, or other product information.
How does label shape affect printing cost?
Label shape can affect material usage, die-cutting, and production efficiency. Simple rectangular shapes are generally easier to produce, while custom shapes may require additional tooling or create more material waste.
What information should fit on a product label?
A product label may need to include branding, product name, ingredients, warnings, usage information, barcode, and other market-specific requirements. The available label area should be considered before finalizing the design.
How do I prepare label dimensions for printing?
Confirm the usable container area first, then define the final label size, bleed, and safe zones. Keep important text and graphics away from the cut line and provide artwork in the printer’s required format.
Why should I request a label sample before production?
A physical sample lets you check the label’s size, material, adhesive, shape, and fit on the actual container. It can reveal wrinkles, lifting, alignment issues, or other problems before full production.