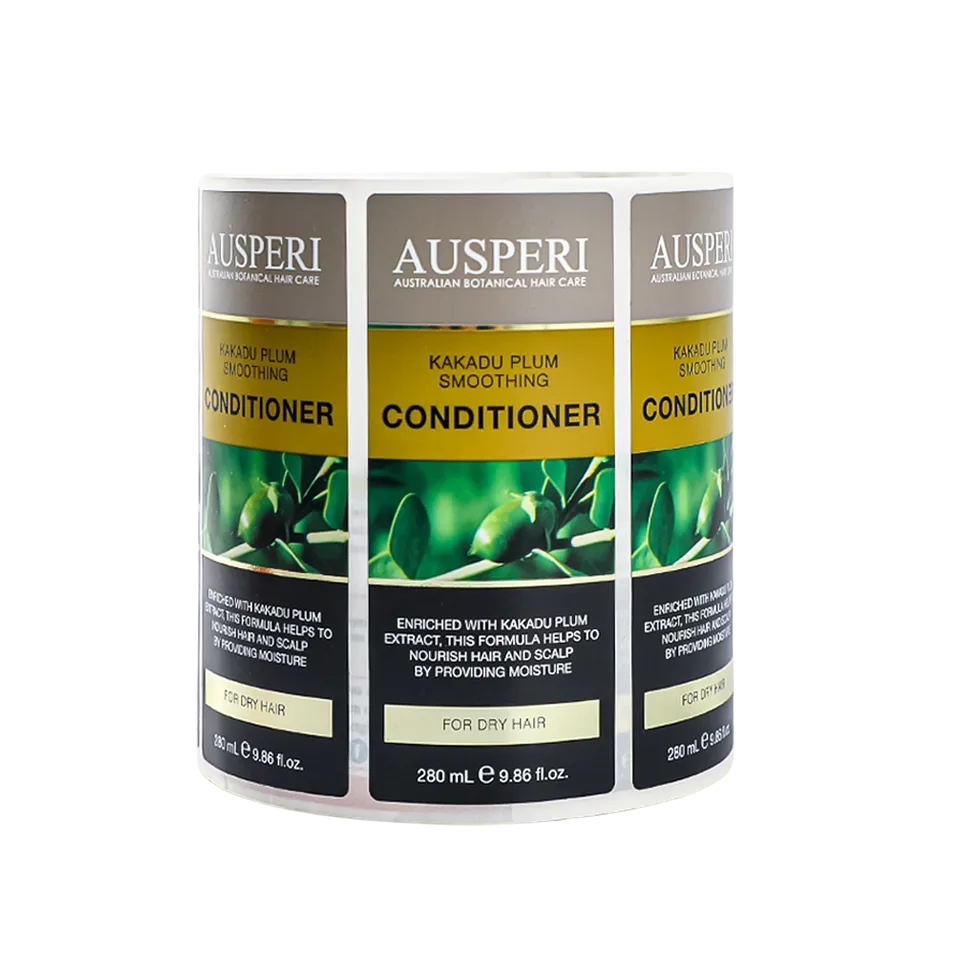
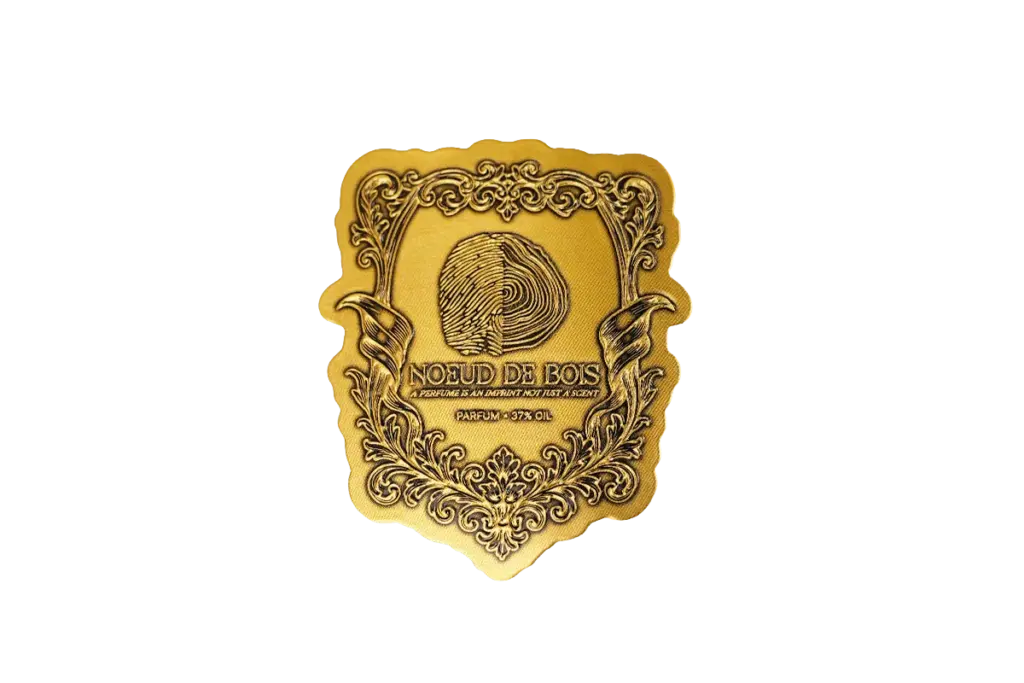
Wine and spirits labels work harder than almost any other print a brand commissions. The same label must look composed on a dim back bar, survive hours in melting ice, resist the oils of a bartender’s hands, and still read clearly at the moment of purchase.
Printing them well is a sequence of material, adhesive, and artwork decisions that build on each other. The focus is on the printing process, the label stocks, and the wet-condition engineering. It also examines the layered layout of a dressed bottle, the premium touches that sell, and the commissioning steps from bottle sample to filling line.
How Do You Print Wine and Spirits Bottle Labels?
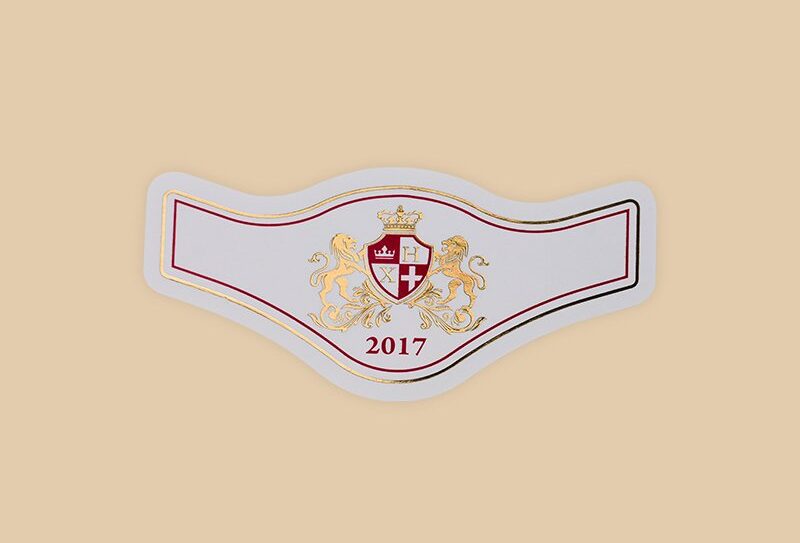
Four decisions drive every bottle label run: material, print method, proofing, and finishing.
Choosing the Label Material
Material selection starts from the bottle’s service life. A bottle built for ice-bucket service needs a wet-strength paper or film face, while a dry-shelf release can carry classic uncoated pulp. Flagship spirits often choose metalized stock for its full metallic body. The adhesive is chosen with the face stock, because the pairing, not either part alone, decides how the label holds cold, wet glass.
Selecting the Printing Method
Digital presses suit small batches and variable data, printing bottle numbers and batch codes without plates or stoppages. Flexographic printing carries large runs economically with crisp spot color, while offset printing delivers fine detail on premium paper stocks. Screen printing lays thick white ink and tactile varnishes that give luxury labels their raised feel, and letterpress adds a debossed craft impression on cotton papers. Most premium bottles combine two or more of these processes across one label.
Proofing and Color Matching
Brand colors are matched to Pantone references and proven on the actual face stock, because the same ink reads differently on cream pulp, metalized paper, and film. A calibrated digital proof settles layout quickly, while a press proof on the real stock shows foil, embossing, and texture as the bottle will wear them. The approved proof becomes the contract the whole run is measured against.
Finishing and Label Preparation
After printing, labels receive their protective and decorative passes: lamination or varnish against condensation and rub, foil and embossing where the design calls for them, then die cutting to the final shape. Finished labels are inspected against the proof, then wound into rolls for machine application or sheeted for hand work, with roll direction and liner specified to match the application line.
Label Stocks for Wine and Spirits Bottles

A spirits label works twice: dry on the shelf and soaked in an ice bucket, hours apart.
Wet-Strength and Pulp-Fiber Papers
Classic wine papers are uncoated pulp stocks treated for wet strength, which keeps the sheet intact after soaking instead of dissolving into pulp. The visible fiber and deckled texture signal tradition, which is why estate wineries keep returning to them. Treatment levels vary, so a paper that survives a rinse may still not survive a full night in ice, and the difference only shows in testing.
Wet strength also comes in grades, and the label specification should name the one tested rather than the generic family. A paper rated for a short chill handles restaurant service, while extended submersion ratings belong on bottles built for ice-bucket retail. The rating, the test duration, and the adhesive are specified together, because the weakest of the three sets the ceiling.
Metalized Foil Stock
Metalized papers carry a thin foil layer under the print, giving labels a full metallic body rather than foil accents stamped onto paper. Spirits brands use them for flagship bottles because the entire face catches light as the bottle turns. The metal layer also adds a vapor barrier, which helps the label hold its surface when condensation forms.
Textured Cotton and Kraft Papers
Cotton-blend papers bring a soft, tactile grain that reads as craft, and kraft stocks suit small-batch and farm-distillery positioning. Both accept letterpress and foil well, but their open fibers absorb moisture faster than treated stocks, so they pair best with laminates or varnishes when the bottle will meet ice.
Pressure-Sensitive vs Wet-Adhesive
The application method decides the liner. Pressure-sensitive labels arrive on a release liner and stick on contact, which suits both hand application and modern rotary machines. Wet-adhesive labels are gummed paper applied with glue at the bottling line, the traditional method for high-volume still wine. Each system expects different label curl, moisture resistance, and storage conditions, so the choice locks in before printing begins.
| Stock | Look | Wet Behavior | Typical Fit |
|---|---|---|---|
| Wet-strength pulp | Fibered, traditional | Survives soaking | Estate wine |
| Metalized foil | Full metallic face | Barrier against vapor | Flagship spirits |
| Cotton and kraft | Craft texture | Needs laminate | Small-batch lines |
| Film (BOPP, PET) | Clear or white | Fully waterproof | Ice bucket staples |
Making Wine and Spirits Labels Resistant to Condensation

Ice water is the stress test that separates a label that looks waterproof from one that is.
Adhesive Systems for Ice Water
The adhesive fails before the paper does. Labels built for ice service use adhesives formulated to hold on cold, wet glass while still releasing cleanly when the bottle is washed for reuse. A standard permanent adhesive can let go once chilled water works under the edge, and a label that floats off in the bucket takes the brand with it.
Surface energy decides how well any adhesive bites. Glass is a low-energy surface, and frosted or coated bottles lower it further, which is why the same adhesive can perform differently across a brand’s bottle range. Listing every bottle variant in the specification keeps the run from being tuned to one glass and failing on another.
Condensation-Resistant Lamination
A laminate or heavy varnish shields the printed face from condensation and rub. Matte films keep the paper look while protecting it, and gloss films add the wet-look shine that suits vodka and gin shelves. The choice of film changes both protection and appearance, and choosing the right lamination is easiest when the bottle’s service conditions are defined first.
Cold-Storage and Wet-Handling Testing
Wet tests belong in the approval cycle, not after delivery. A disciplined supplier submerges the wrapped test bottle in ice water for an agreed period, then checks for edge lift, ink bleed, and adhesive failure. Cold-chain products add a third condition: adhesives that grip at freezer temperatures without turning brittle, proven by cycling wrapped bottles through freezing and thawing. Passing both on the real bottle is the only evidence that matters.
Get Wine and Spirits Labels Built for the Ice Bucket
Front, Back, and Neck Label Design
A dressed bottle wears its labels like a uniform, and every panel has a job.
Layered Label Construction
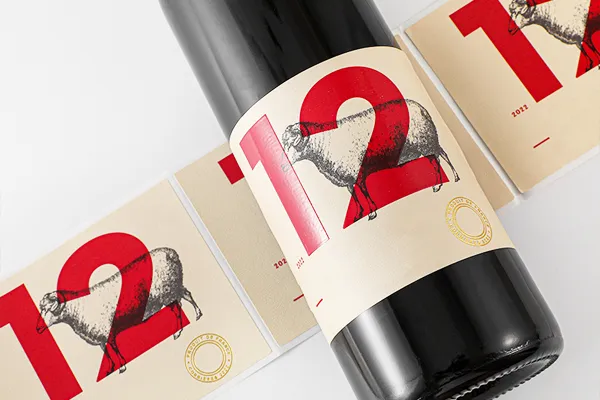
A full dress stacks separate pieces: a neck label at the capsule, sometimes a shoulder label beneath it, the front label carrying the brand, and a back label for the required disclosures. Each piece is printed separately and applied in register with the others, so consistent sizing and placement matter across the entire set. Since bottle shape and capacity also affect label dimensions, our wine bottle sizes and label dimensions guide charts standard measurements for formats ranging from 187.5 ml splits to 1.5 L magnums.
The back label carries the information load: appellation or class, alcohol content, net contents, the producer’s name and address, and the government warnings where required. Designing it as a quiet, well-set text page rather than an afterthought keeps the front label free to sell. Buyers read a tidy back label as a sign of a tidy operation.
Sizes for Common Bottle Formats
Label sizes follow bottle geometry, and the same brand restyles its labels for bordeaux, burgundy, and spirits shoulders. The flat face available on a cylindrical bottle sets the maximum label height before the edges begin to curve away. For the underlying sizing method, what to consider when choosing bottle labels walks through the measurement and margin logic that applies to every format.
Front-Back vs Wrap Layouts
Front-and-back layouts split the story: the front sells, the back informs, and the two never compete. Wrap labels carry a continuous design around the cylinder, which photographs dynamically on a shelf but must place critical text where it stays visible in a single facing. Required information reserves its space on the back panel in either layout. In the United States, the Alcohol and Tobacco Tax and Trade Bureau (TTB) outlines the mandatory information required on wine labels.
Premium Finishing Options for Wine and Spirits Labels

On a back bar, texture and shine do the selling from three meters away.
Hot Foil and Embossing
Hot foil stamps metallic or pigment leaf onto crests and wordmarks, and embossing raises the same elements in relief. Combined, they give a brand mark both light and depth, the signature look of premium whiskey and cognac labels. The processes hold tight registration with each other, and how foil labels are made shows why foil work rewards simple, bold artwork over fine detail.
Variable Data for Small Batches
Limited editions print a different number on every label, and digital presses handle variable data without stopping the run. Batch codes, bottling dates, and bottle numbers all ride the same variable layer, which turns each label into a certificate of its own bottle. Cask-strength releases and club allocations use the mechanism to build collectability into the packaging itself.
Security and Authenticity Features
Counterfeiting follows premium spirits, and labels answer with security features layered by threat. Overt features such as tax strips, tear seals, and embossed crests deter casual tampering, serialized codes let buyers verify a bottle against a database, and covert marks survive audits by enforcement. A brand chooses the depth it needs by threat, not by budget alone, and none of the layers replace the visible design.
How to Order Wine and Spirits Bottle Labels
A label run succeeds on the bench: wrapped on the real bottle and tested in real conditions.
Four steps take a bottle label from concept to filling line, and each step ends with a physical check rather than a screen.
Step 1: Bottle Sample and Wrap Test
Everything starts with the actual bottle. The supplier wraps a printed test label on a real sample and checks how the stock conforms to the shoulder curve and seams. Diameter, taper, and mold seams differ between glass suppliers, and a label engineered for one bottle can flag or wrinkle on its near-twin.
Step 2: Proof and Color Match
Proofing locks color and layout. Brand colors are matched against references on the chosen stock, because the same ink reads differently on cream pulp and metalized paper. The approved proof becomes the contract for the run, and every later check compares the bottle to it rather than to a screen.
Step 3: Adhesive and Application Method Choice
With stock and art settled, the adhesive system is finalized for the route the bottle will travel: ice service, chilled display, or dry shelf. The application method is confirmed at the same time, since hand application, tabletop machines, and rotary lines each impose their own tolerance on label placement and liner handling.
Step 4: Filling-Line Trial
Before full volume, a trial run at production speed proves the label behaves on the line. The trial checks registration, squeeze-out of adhesive, and rejection rates, and it gives the bottling crew a chance to flag issues while changes are still cheap. A clean trial closes the commissioning process and opens the reorder relationship.
FAQ
Will pressure-sensitive labels peel in an ice bucket?
Not when they are built for it. Labels engineered for ice service pair a wet-strength or film face with an adhesive formulated for cold, wet glass. An ice-water test on the real bottle confirms the combination before bulk production.
Which paper withstands high-proof alcohol?
Wet-strength treated pulp papers and film stocks both hold up around spirits, since the treatment keeps fibers intact through moisture and film ignores it entirely. A laminate or heavy varnish adds a barrier over printed areas, and testing on the filled bottle settles the choice.
Can you print numbered editions?
Yes. Digital presses print variable data on the fly, so each label carries its own bottle number, batch code, or bottling date without stopping the run. Limited releases use the same layer for serialized verification codes.
What lead time should distillers plan for?
Lead time moves with stock availability, finishing passes, and season, and specialty papers carry their own mill schedules. Sharing the bottling date at quotation lets the supplier schedule the wrap test, proofing, and production against it.
Material choice drives every other decision — our breakdown of best materials for food packaging labels walks through the trade-offs.
Conclusion
A wine or spirits label is a small piece of print with a long list of jobs. It must carry the brand on the shelf, stay legible for the buyer, hold through ice and condensation, and satisfy the rules of its market. Every decision in this guide, from print method to stock to adhesive to layout, serves one of those jobs.
The pattern that protects all of them is testing on the real bottle. Wrap tests catch geometry problems, ice tests catch material failures, and filling-line trials catch application issues while they are still cheap to fix.
When you are planning labels for your own bottles, talk to the Meikei team with your bottle sample and target market. A wrap test and an ice-bucket check before quoting cost nothing and prevent the failures that are hardest to fix after filling.